

This battle is an excellent example of bubble-wrapping, defending against deep strikes, how properly using aggressive/deep striking/fast armies can force an opponent on the back foot and how Tyranid players can protect their key parts without offering up multiple assaults (no I'm not looking at anyone here). As usual lists can be seen in the comments section. Objectives was the primary missions parameter followed by quarters and then kill points with a spearhead deployment.
I've just noticed some of the pictures are blurry sorry.
Deployment & Turn 1
I won the roll-off and gave it to Vince. This allowed me to move towards objectives on the last turn and didn't allow him to deny me two turns of shooting if he reserved. He reserved so I set up a castle with my Termagants with my Prime attached to one to the squads to make it scarier in combat.


I pushed my gants forward on the right side to push Vince away from me but otherwise was looking for him to deepstrike aggressively near terrain and right in front of my line (so I can turn around and munch him the next turn) or land in terrain. I could of pushed forwards more to put Vince in terrain or further away but wanted him to be aggressive and assault me so I could counter-attack. I shouldn't of put the Raveners where I did as they were vulnerable to meltas but the rest of the big critters are protected at the back.

Blood Angels Turn 2
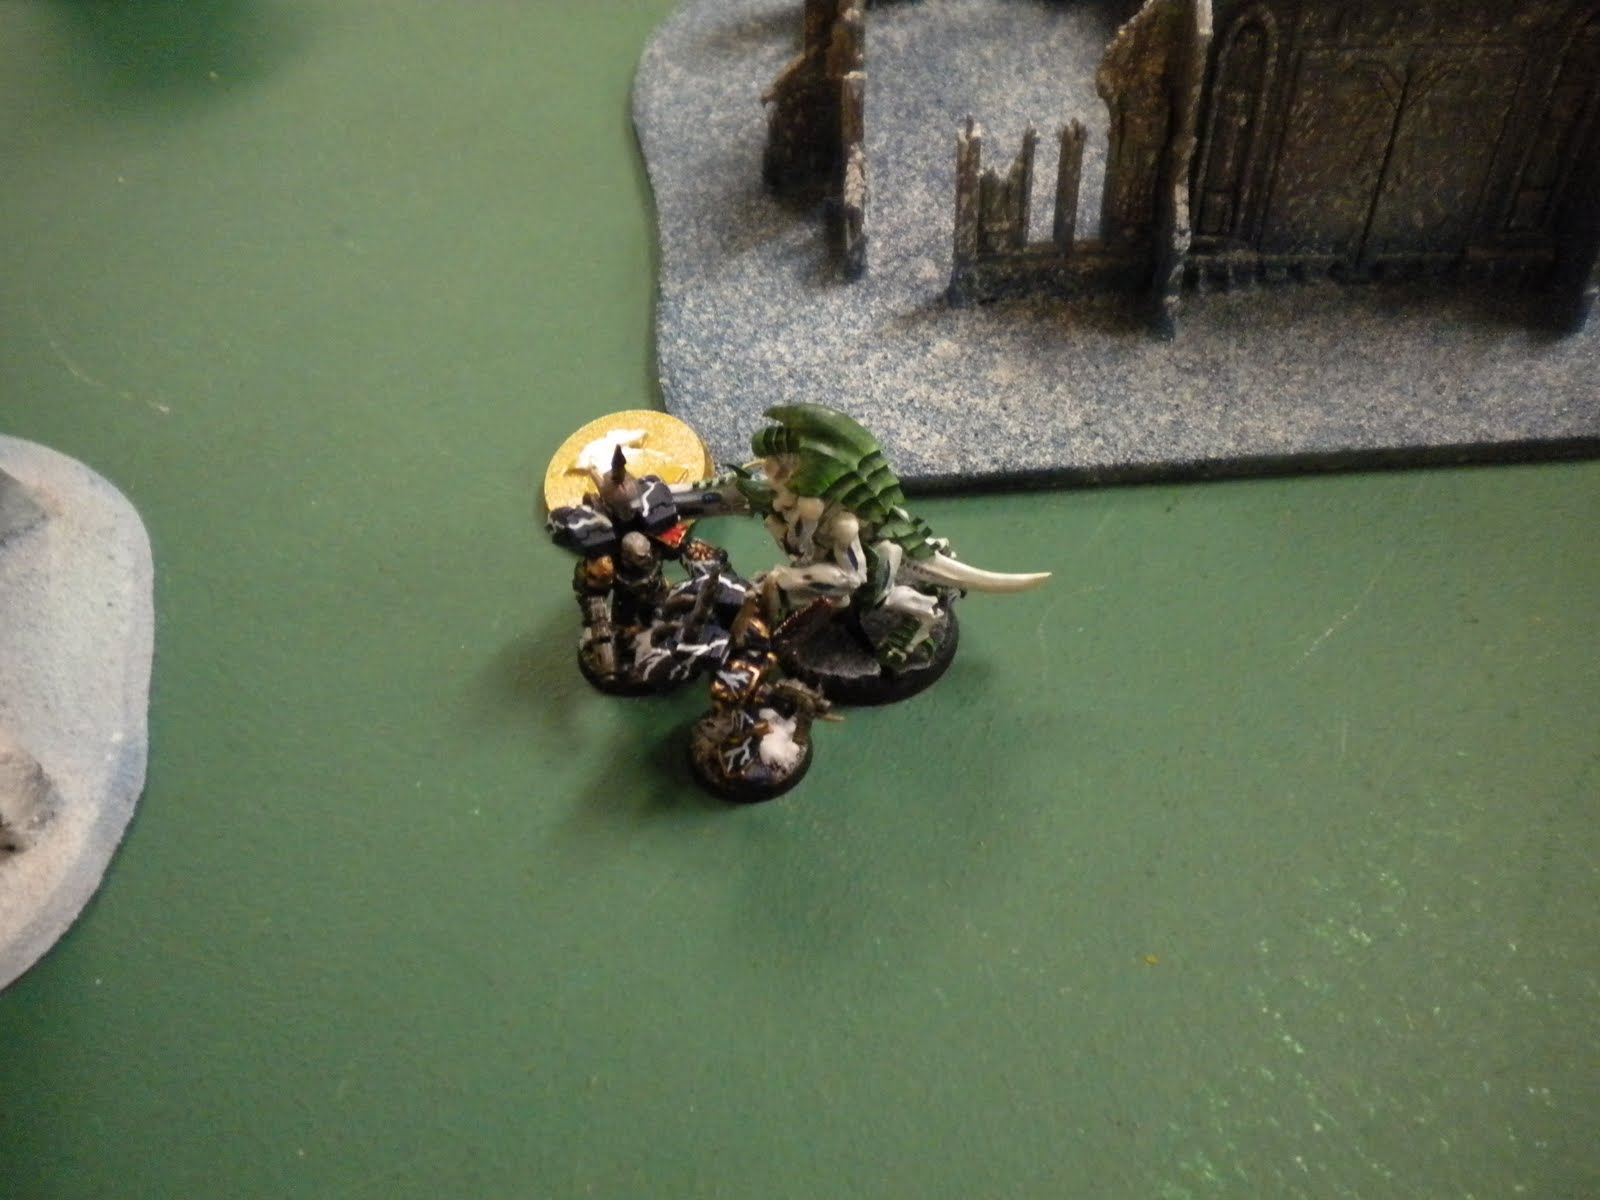
All but one of Vince's squads came in (an ASM squad w/Priest) and all of his deepstrikes were bang on target. One of the VV squads also got thirsty for some red stuff. Both of his VV landed in front of my Termagant line near the Prime whilst the rest of the ASM scattered minimally (though the Libby on the left flank took a dangerous wound). The Honor Guard landed on the right in front of the Raveners and all squads were in FNP/FC range.
The right squad of Raveners was dropped to a single Rav with two wounds remaining whilst the squad on the left lost one. In the assault phase the left VV squad wiped out the Termagants on that side whilst losing one of their own and consolidated in front of the Night Lord lines to protect the ASM for assaults. The squad on the right assaulted the other Termagants with Prime who held and lost two of their number thanks to the Prime.


Tyranids Turn 2
So my whole army is now ready to do what it wants to Vince's vanguard but his ASM are setup nicely to control the board and stay away from combat for as long as possible whilst still threatening my backfield units. I moved both of my Ravener units up to assault as well as a newly (and large) spawned Termagant unit on the right flank. The rest of the newly spawned gants wrapped around the back peddling MCs + Hive Guard who wanted to take down a few of those PFists and meltaguns before moving in. I could of played more aggressively here and taken away Vince's board control but I wanted to ensure those Vanguard were taken down first.
My combined shooting effort was able to drop the left VV squad but otherwise was rather medicore (dropping one meltagun Honor Guard member). Catalyst was cast on my Ravener squad on the left flank and on the spawned Termagant squad on the right. Both of these units assaulted ASM squads whilst the lone Ravener on the right assaulted the Honor Guard. He died and did no damage whilst the Termagants were able to drop two Marines and lost four of their own. The Raveners on the left killed two ASM and lost one of their number to a Powerfist but stayed in combat. The Prime + Gant squad killed another VV and lost a few of their own (wound on Prime) but stayed in combat.


Turn 3 Blood Angels
Vince's final squad comes in and lands on the left flank in front of my Termagant bubble-wrap. The rest of the left flank (two more ASM combat squads + Libby and Priests) move up as well and look to bring down some of the gribblies with their melta weapons. The Honor Guard on the right move to threaten the Tervigon on that side as well. I think here Vince should have moved his Honor Guard to the other flank as he was basically sacrificing that Honor Guad squad to put some wounds on something (which wasn't near dying).
The combined fire of the ASM dropped the left Tervigon to three wounds and the Honor Guard dropped the right Tervigon to four. I'd of looked to have pistoled a lot of the gants as there weren't that many there and killing 4-5 would have left some sort of opening to either the Tervigon or Hive Guard. This would of allowed Vince to use Furious Charge and his combat weapons to greater effect but he choose to shoot the MCs instead.
In combat the ASM on the right lost another guy whilst taking down a few Termagants who held. The Ravener on the left was destroyed but not before taking down the Priest in that squad and the Prime 's bodyguard was removed and one more VV died.


Tyranids Turn 3
Those Honor Guard are very exposed so I need to get rid of them but my left flank isn't looking to secure. The Tervigon over there has pooped out so can't make anymore Gants but the ASM are all bunched up so I should be able to do a fair amount of damage with my large blasts. My right Tervigon spawns another large Gant unit which goes after the Honor Guard but poops out in the process.
Shooting sees a couple of the Honor Guard fall but only a handful of ASM on the left as well despite three 5" blasts, some flamer templates and a bunch of Hive Guard and gant shooting. Importantly though the Priest there was still alive which I wanted to try and get rid of but good rolling on Vince's part kept that flank strong.
In the assault phase the new Termagants wiped out the Honor Guard and consolidated whilst the ASM and Termagant fight was pretty boring with a couple Gants dying. The Prime lost a wound but dropped another VV leaving just one remaining.


Blood Angels Turn 4
Things on the right flank are looking pretty grim for Vince but the left flank is looking pretty strong. However, Vince bails out...and moves most of his units towards the far side of the board (one unit moved back to deal with the consolidated Termagants). This was to hold objectives but he should have left more guys to deal with my stuff and kept the combat squads with the power fists around rather than the meltaguns. This way he could of jumped into combat and more than likely tied stuff up rather than trying to shoot down MCs.
His shooting was able to drop the left Tervigon down to 1 wound which he charged with his Librarian but otherwise did jack all damage. The VV in the middle finally finished off the Prime whilst the retreating ASM were able to wipe out the Termagant squad in the middle. This was huge for objective purposes and the Termagants + ASM on the right saw more Gants die but no Marines.


Tyranids Turn 4
With Vince's retreat my left flank isn't under much pressure anymore but my right flank is kind of non-existent now. I am however under pressure to move out and capture objectives. I move forward as much as possible and am able to completely eliminate the ASM squad blocking my left flank (in hindsight I should have assaulted them to get a consolidate move as well) and the Tervigon dropped the Librarian whacking at him with a force weapon. Some of my other shooting dropped the final VV member but couldn't force a morale check on the remaining ASM squads. In combat the Termagants on the right lost some more guys and couldn't drop any of the ASM.


Vince ran away again. How unusual. His squads on the right flank moved back behind the central ruins and bunker to hold the back right objective and pressure the middle objective whilst the squads on the left flank went to hold the objectives on that side. Vince did no damage to me this turn other than finishing off the Termagant squad in combat. He moved his two remaining ASM forward to try and block me.
 |
| Don't smoke kids. |
 |
| Check out all the dead Blood Angels...er Night Lords. |

Tyranids Turn 5
It's basically a race against the clock at this point. I move my guys forward as quickly as possible often running or shooting at ASM to try and make them flee. I move my guys around the ASM on the right flank and kill one of them setting up an assault + consolidation for later but they flee and I'm just out of range with my Tervigon. The objective count currently stands at 3-1 to Vince.


Blood Angels Turn 6
The remaining ASM on the right flank moved forward to block my Tervigon. This was pretty unwise as a single model isn't going to slow me down + gives me a consolidation move. A better play would have been to hide behind the bunker on the right to contest/control that objective and use the other ASM elsewhere. The problem Vince has atm is I am threatening two objectives and he can really do nothing about the one in my deployment. I can't really do anything about the one in the back left but do have a decent chance of getting the one in the bottom left. He needs to try and keep those two if he has a chance to win the game in 7 turns. Unfortunately he doesn't have many units left to do this with and moving that single ASM into the Tervigon hurts his mobility chances. He then sends the middle ASM squad towards my lines to try and slow me down or kill something. If he had retreated the lone ASM he could of moved that squad diagonally to intercept the Hive Guard moving towards the bottom left objective and use the ASM squad on the back right objective to try and contest or delay me around the middle objective.
As it were, he assaulted the Termagants in midfield and wiped them out and consolidated back towards the objective. Everything else shuffled to be better sitting on the objectives hoping for a game ending on Turn 6.

Tyranids Turn 6
With Vince taking one of my Troops out in midfield and offering up one of his own on the plate + the one in front of the Tervigon, he's seriously handicapped himself if the game continues to Turn 7 and I can most likely tie on objectives in this turn regardless. I set about doing that. I move my Tervigon around the ASM and head towards the objective and get a 6" run move and end up right on top of it. My midfield moves towards the ASM squad there to eliminate it whilst the Termagant squad spreads itself out between the central objective and objective in my deployment zone. The Hive Guard on the left move and run towards the objective (also getting a 6) and end up on top of that objective, too. I eliminate the ASM squad in combat with my MCs and I'm ahead 2-1 on objectives as a bystander rolls for Turn 7...and it goes on.


Blood Angels Turn 7
With Vince losing two of his squads last turn he doesn't have much choice atm in what to do. He sends his ASM on the back right objective into the Termagants in the middle in an attempt to get to drag them off both objectives whilst the ASM in the bottom left assault the Hive Guard. He kills one Hive Guard and loses none in return but they hold and a handful of Termagants who stick around and wave.

Tyranid Turn 7 and Conclusions
At this point it is pretty academic. Vince can get a maximum of two objectives and I have two as well with a very high chance of three. I move my midfield Tervigon onto the objective in my deployment zone and the rest of my army to support the Termagants in combat in midfield. They charge and wipe them out and the Termagants consolidate onto the central objective. The Hive Guard survives the ASM punching which leaves the objective counter 3-1 in my favor.
GG vincey!
Vince played pretty well but I think he should have done his retreat a turn later or left the PFist side of the ASM squads so they could actually damage things in assault. With the extra turn of me being stuck his 12" move advantage would have been more pronounced. The sacrifice of certain squads in Turn 5/6 also took away any mobility advantages he had as once he got to the objectives he had to stay there and didn't have the squads to trade Troop choices with me. In the end his initial drop hemmed me in but I was able to break out with his early retreating and follow him to the objectives.
Was a good game and a chance to demonstrate tactics discussed on this blog a lot (bubble-wrap, BA deployment) and exemplified a few things as well (did you see any multi-assaults on Gants + MCs?).