


Antebellum has sent in some battle reports a while ago relating to tournament he attended in early March. If we remember Antebellum brought us these great minis so it'll great to see them in action. I'll include a couple of comments but otherwise enjoy the pictures and report!
Hey Kirby,
Yesterday my brothers and I, along with my friend, participated in a 1250pt three-round tournament at Gaming, Etc. in Stratford, CT. I figured you might want to post a couple of battle reports using a blood angels jumper list and could give critique about good/bad parts of my strategy and maybe be able to highlight general aspects of the strategy. I tried to take a bunch of pictures, but it's tough to remember to.
It was good fun and I ended up going 2-1 for the day with 'Strike Fleet Antebellum'. I played the following list (everything has jump packs):
Librarian
Honour Guard (5) w/ meltagun x3
Sanguinary Priest (2) w/ power weapon
Assault Squad (10) w/ meltagun x2, power fist
Assault Squad (10) w/ meltagun x2, power fist, hand flamer
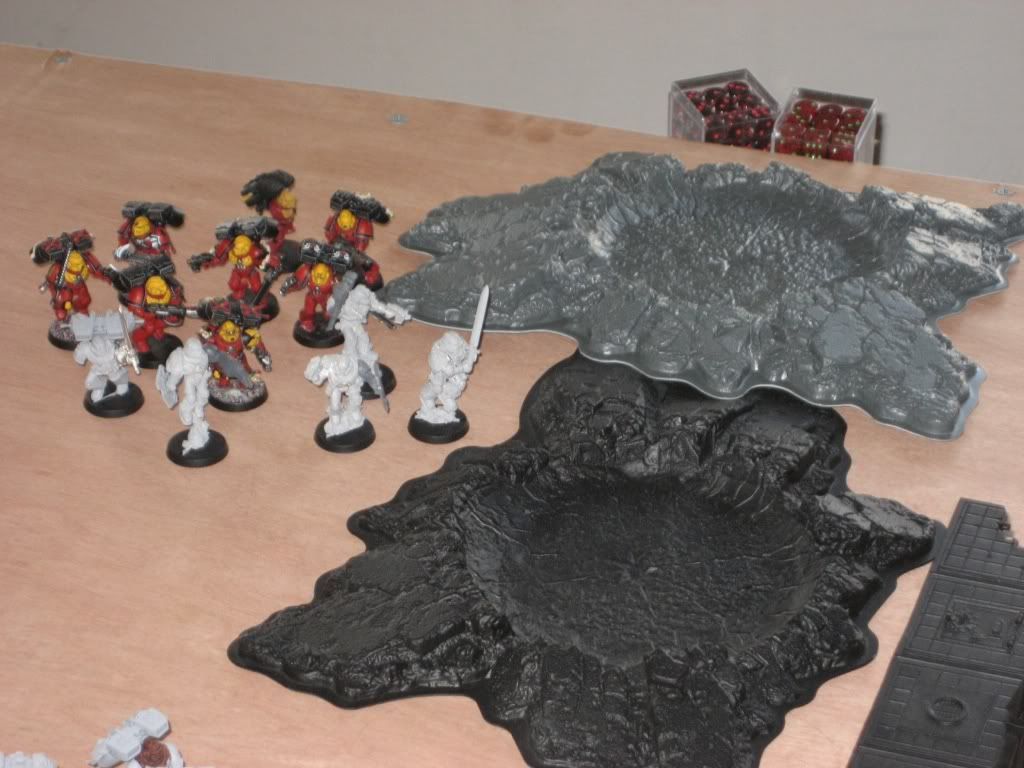
Vanguard Veterans (5) w/ storm shield x2, glaive encarmine, thunder hammer, lightning claw & storm shield
Game one.
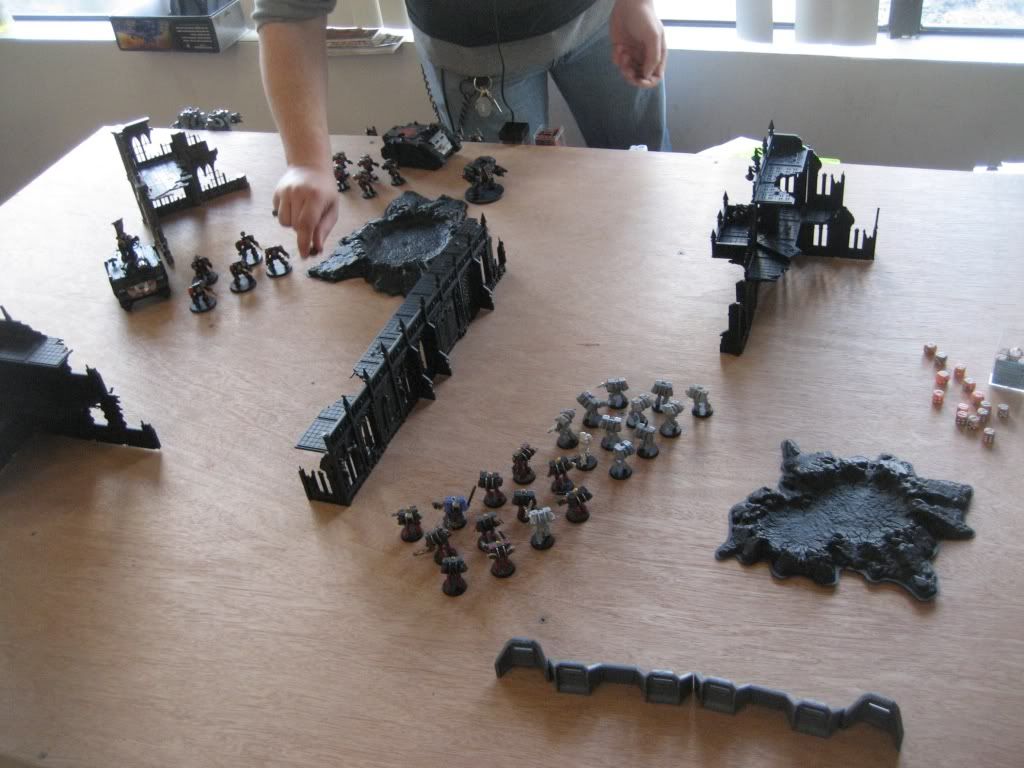
First game was against mech imperial guard using an inquisitor and mystics, psyker battle squad, infantry platoon, 2 basiliks, a medusa, and a manticore. The mission was dawn of war, seize ground. This was my first game against IG (surprisingly) and my first game against an inquisitor with mystics. Well, I tried to deep strike everything near him and I lost close to 10 guys (a third of my army) right off the bat. The second turn reduced me to about 10 models and by the end of turn four I was wiped. I made a huge mistake with by having 'square peg, round hole' symptom. After realizing that if I deep striked (deep struck?) within 4d6" of his inquisitor, that the squad would get an artillery round in its face, I continued to try and deep strike close to him. I also did not know of the large minimum range of his basilisk and manticore? (the thing with the four missiles). I could have easily dropped the rest of my army in relative safety and it would have been a decent game. Oh well.
Starting on foot probably would of been better here other than the VV which deep-striking near the platoon to try and engage them in combat would of been good. Otherwise the mystic + blasts of the Imperial army were going to be problematic for a Jumper army to overcome. Put this down to lack of army knowledge and experience but Antebellum was able to identify this and hopefully utilise this knowledge against future IG armies.
Game two.
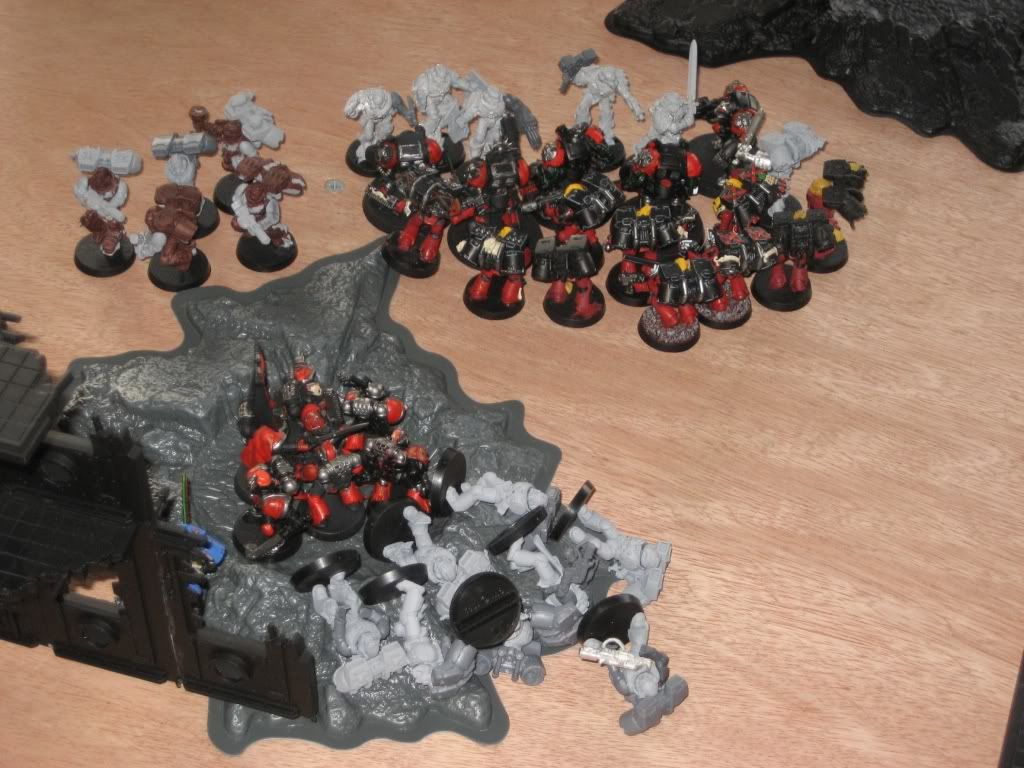
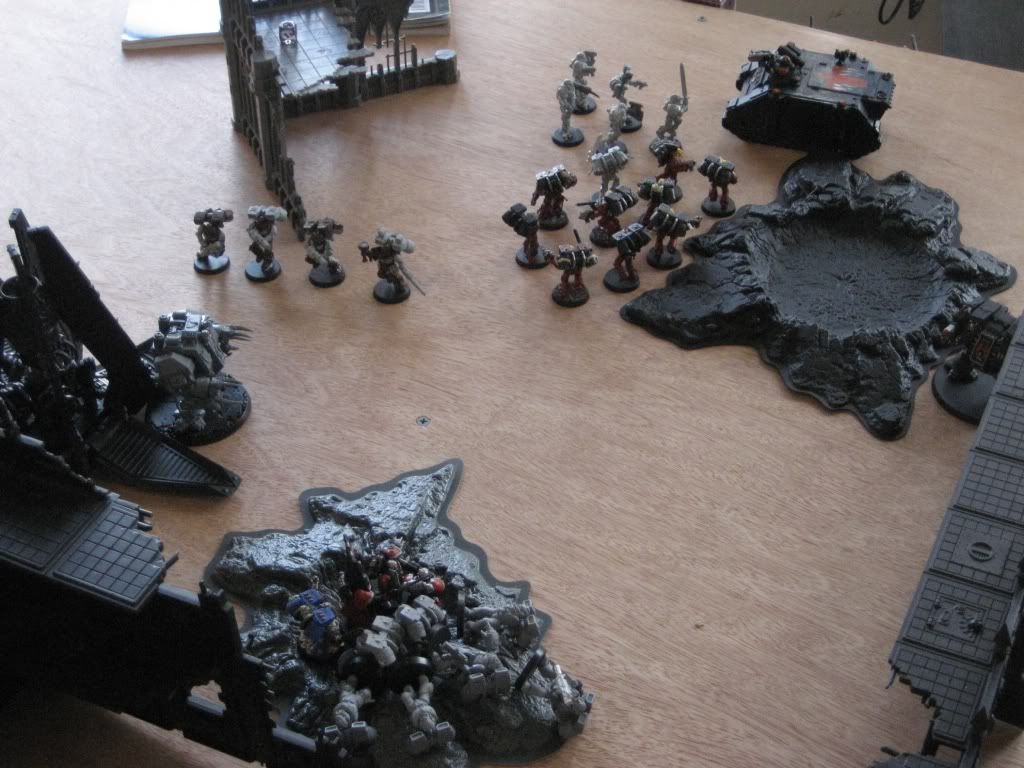
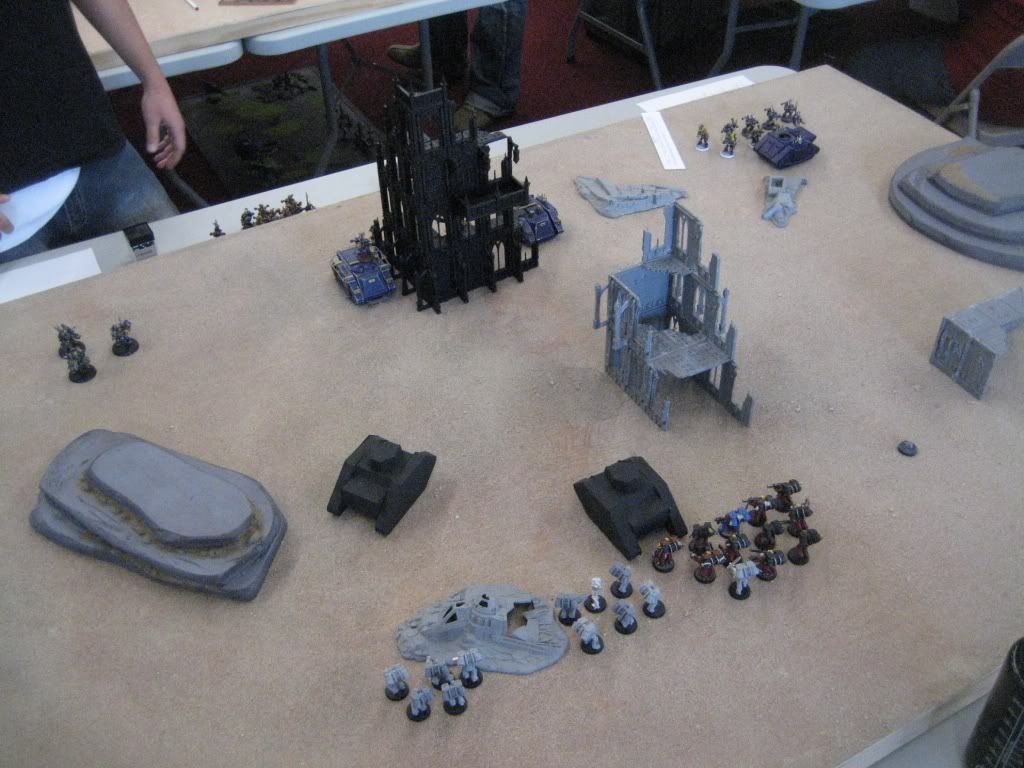
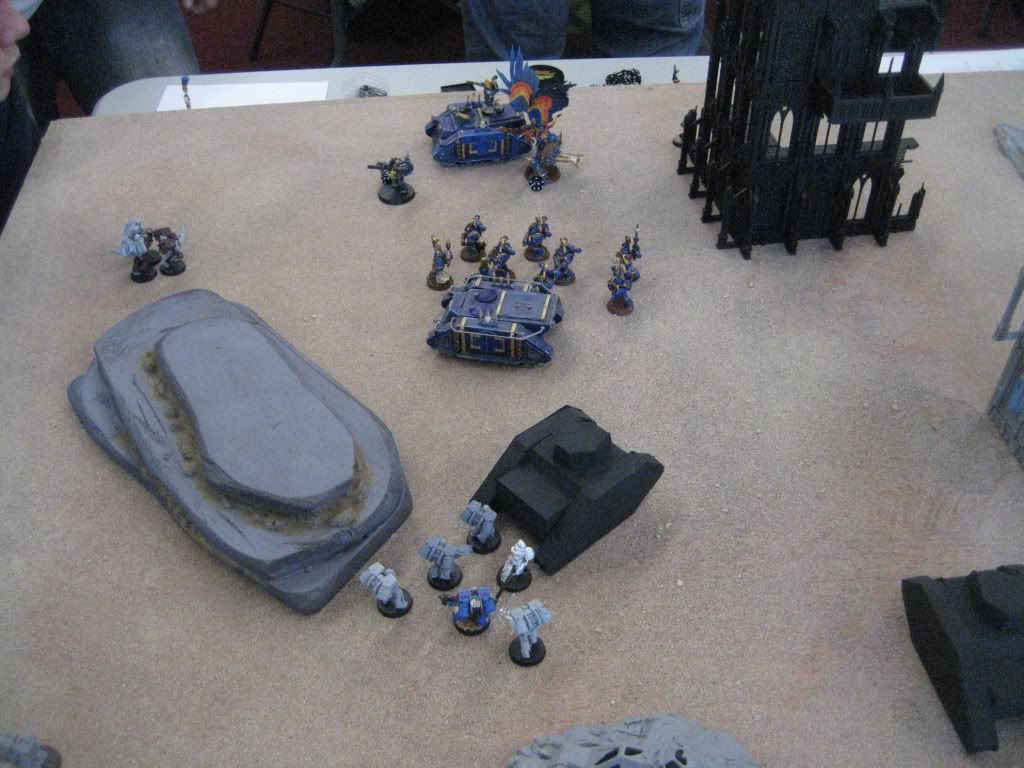
At this point I was on table 10 (last or second to last place). I faced my buddy Bruce (we have somehow played at three quarters of the tournaments we were both at) who also has blood angels. His forces were made up of three 5 man assault squads with a flamer (2 in rhinos), a bare-bones captain, 5 shooty terminators, 2 furioso's (1 with blood talons, 1 with frag cannon) in drop pods, and regular dreadnought with twin-linked heavy flamer. The mission was spearhead, annihilation with a secondary objective to control more table quarters than your opponent. I won the roll-off and set up first.
I started on the board with both 10-man assault squads with a sanguinary priest attached to each and the librarian attached to the larger one. He deployed opposite me with an assault squad in a rhino on each flank, one supported by the dreadnought and assault squad with jump packs, the other by the terminators.
With minimal shooting deploying on table is a fine option here with the ASM as they are able to move and assault by around T2-3 whilst keeping the HG and VV in reserve allows them to maximise their meltaguns and deepstrike assault abilities.
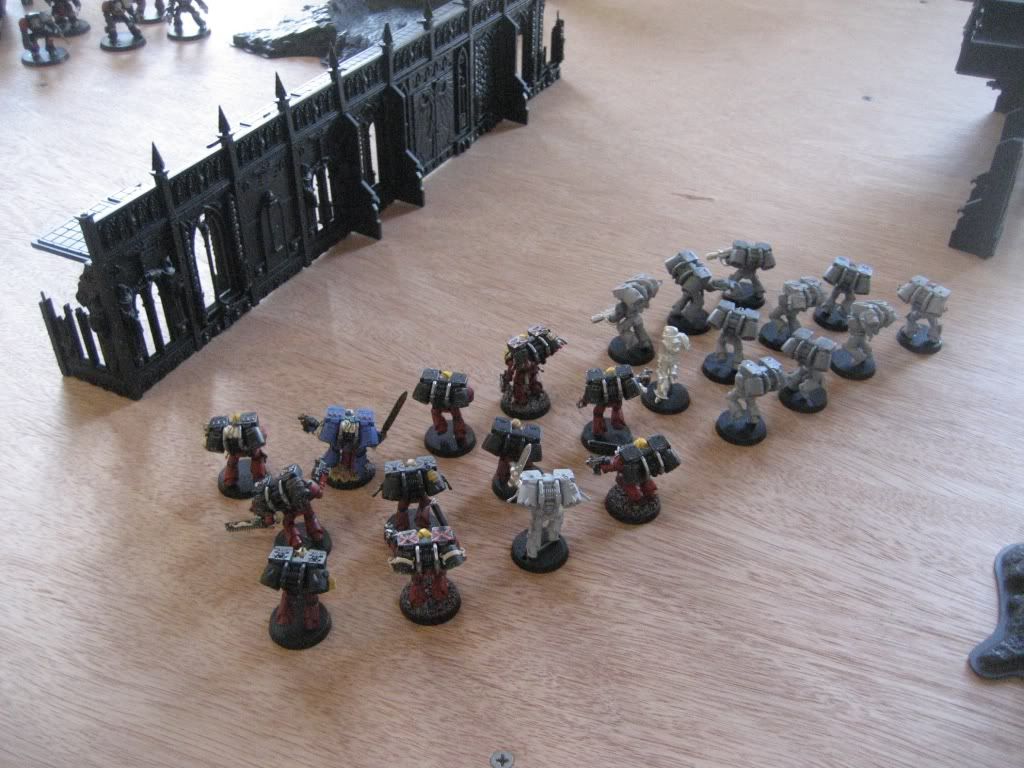

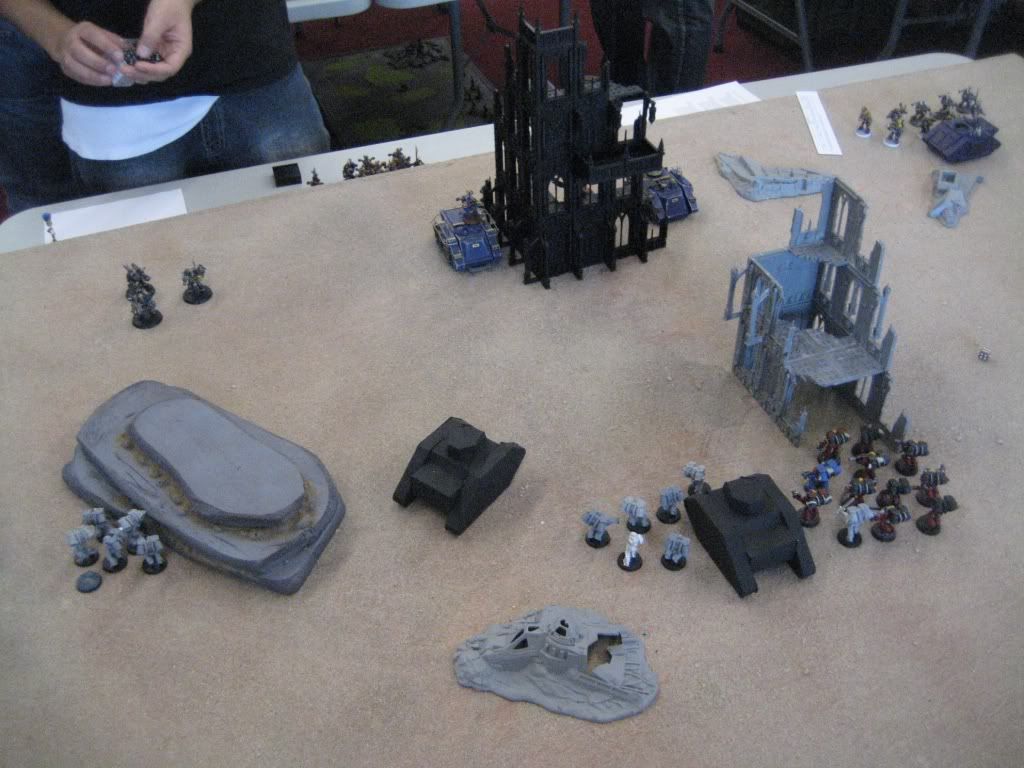
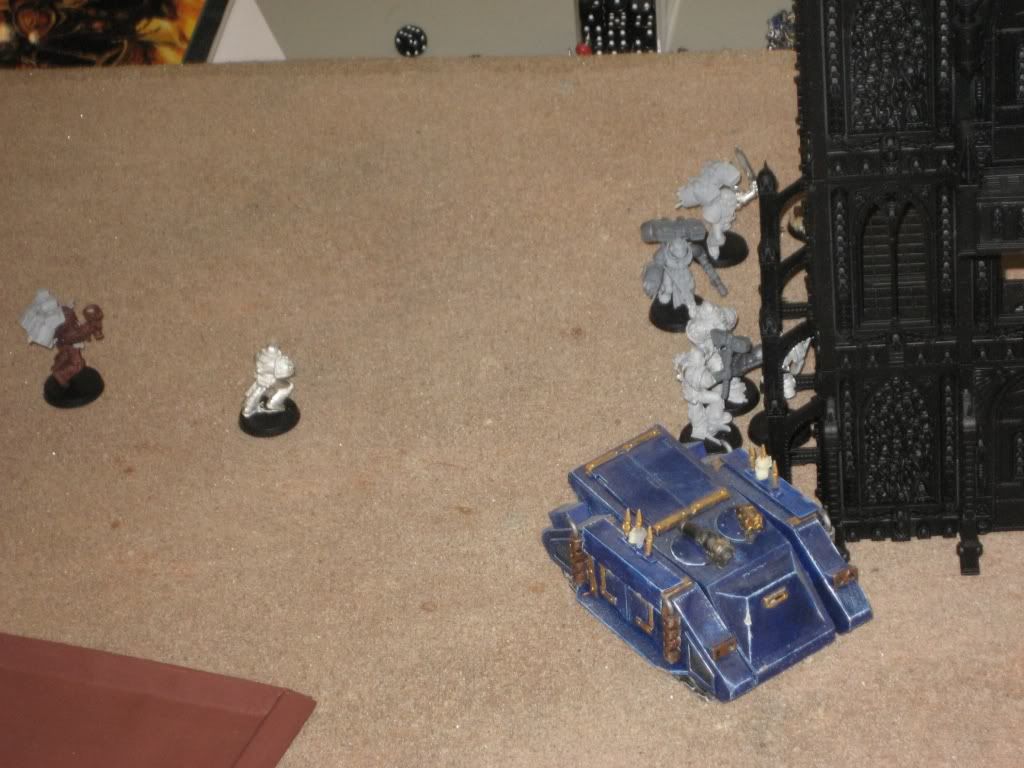
My first turn was uneventful with both assault squads moving up to the cover of the wall. The librarian joined the gray squad as well. No running, no shooting, no assaulting.

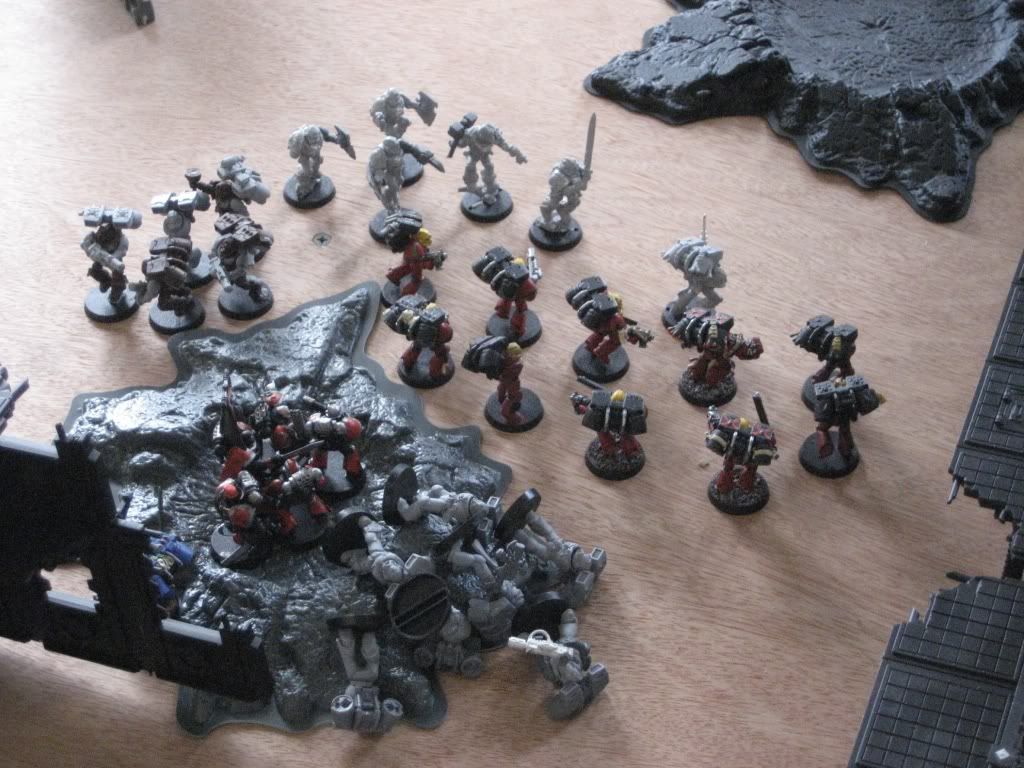
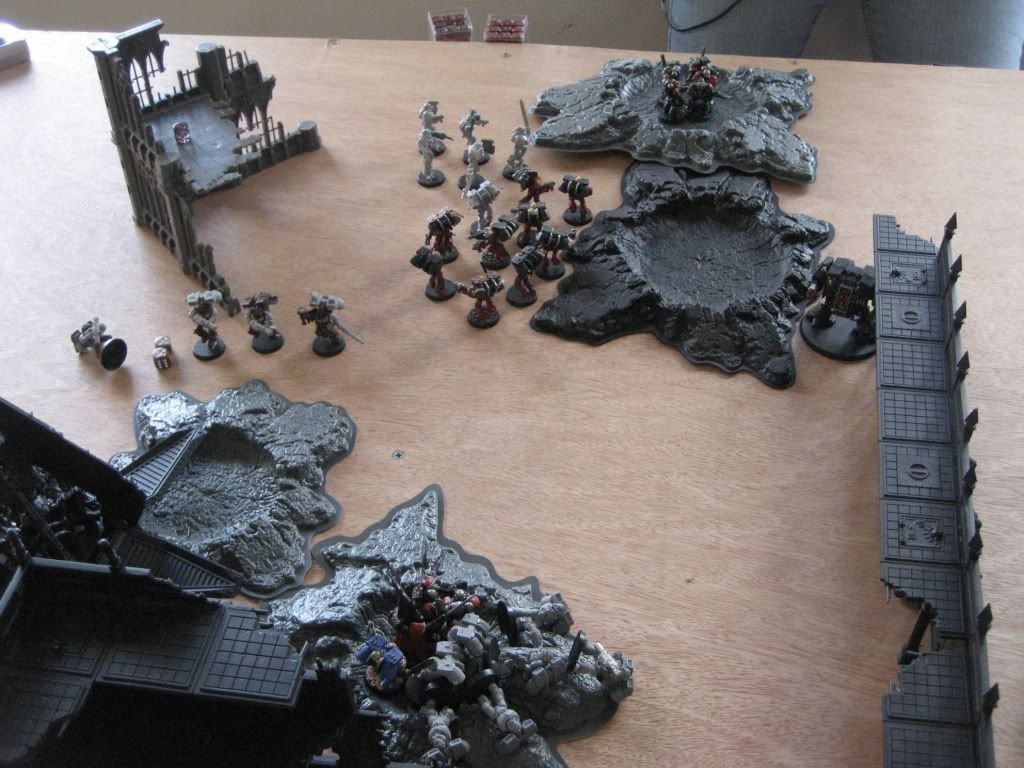
His first turn saw the furioso with a frag cannon land right behind me while his dreadnought, rhino, and assault marines moved up my right flank and his rhino and terminators move up on my right. He shot the frag cannon and at least two heavy flamers at me from the dreadnoughts, killing 2 marines and my priest (he caused that many wounds with the frag cannon) which caused them to run. I don't believe he shot at me with the terminators though.
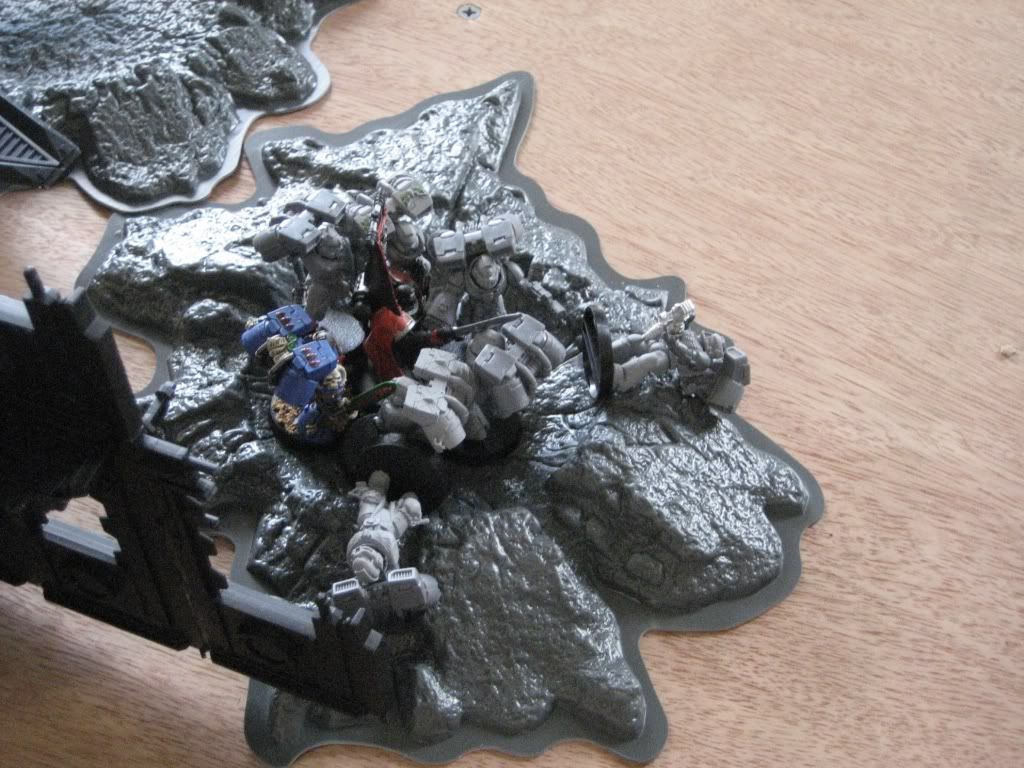
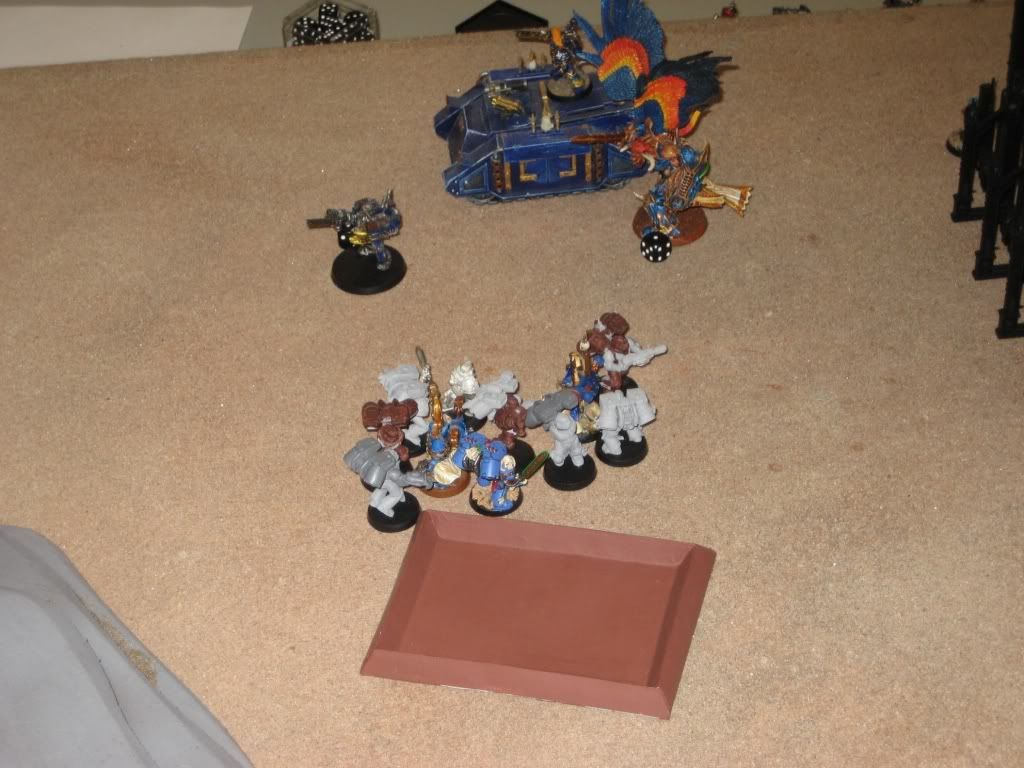
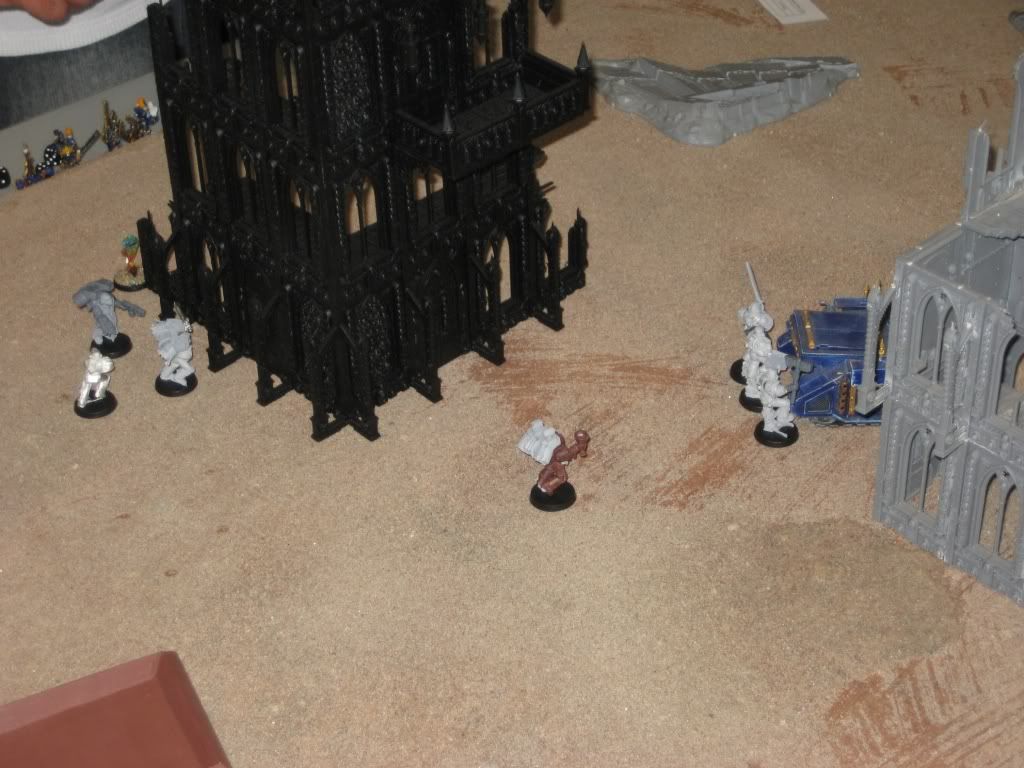
My turn two only happened this way because I was lucky enough to have both the veterans and honour guard come in from reserves. I dropped my honour guard right behind his rhino and the veterans right behind his terminators while both assault squads hopped over the wall and got ready to assault. I shot all three meltaguns from the honour guard at the back of his rhino and managed to immobilize it :facepalm: but I then got lucky with blood lance which managed to explode it (which managed to kill no one). I didn't shoot the painted assault squad at the terminators for fear that I might kill one and be out of assault range (although looking at the picture, I would have had to kill three of them). I then assaulted his terminators with my veterans and the painted assault squad, bringing them down before they were able to strike with sheer weight of attacks (31 regular attacks, 10 power weapon attacks, 6 power fist/thunder hammer attacks ... at Str 5). The other assault was a draw (I believe). We each lost a marine. (That crater was not model friendly >:))

His turn two had his furioso with blood talons come in right next to my honour guard. Both his dreadnoughts and his rhino moved back toward me, while his assault squad continued into my quarter (I believe to claim a table quarter). I got shot a few more times with heavy flamers, frag cannons, and magna grapples (which did not hit all game), and lost a marine from the painted squad . In the assault, his captain squared off against my librarian (doing nothing to each other), and my squad killed another one of his marines; he passed his leadership test.
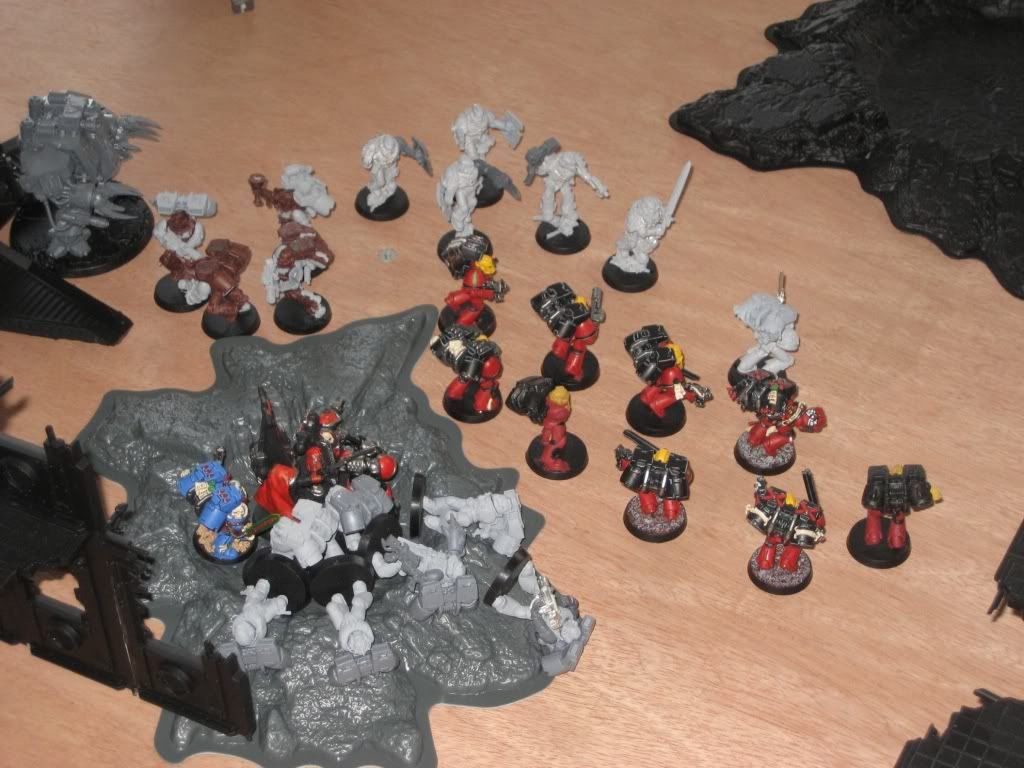
My turn three was repositioning. I moved everything away from the right side of the board where he had two dreadnoughts and an assault squad. The veterans and painted assault squad moved to intercept his rhino/assaut squad, while the honour guard hoped that three meltaguns could bring down a furioso ... luckily they did. The furioso exploded (killing a meltagunner from the honour guard) and the rhino also exploded (killing no one). Unfortunately, both my veterans and my assault squad were out of range of assaulting. The combat continued at the bottom, with my marines killing two of his, and losing none of their own; he again held morale.
His third turn had his two remaining dreadnoughts move closer to me, the furioso toward the combat with his commander, and the regular one toward my assault marines and veterans. His disembarked assault marines moved out of the crater to assault the veterans, while his other assault marines stayed out of the battle in my original table quarter. I lost another marine to the heavy flamer while his assault marines assaulted my veterans (who I believe failed to kill them all). My power first sergeant also squished his commander just in the nick of time.
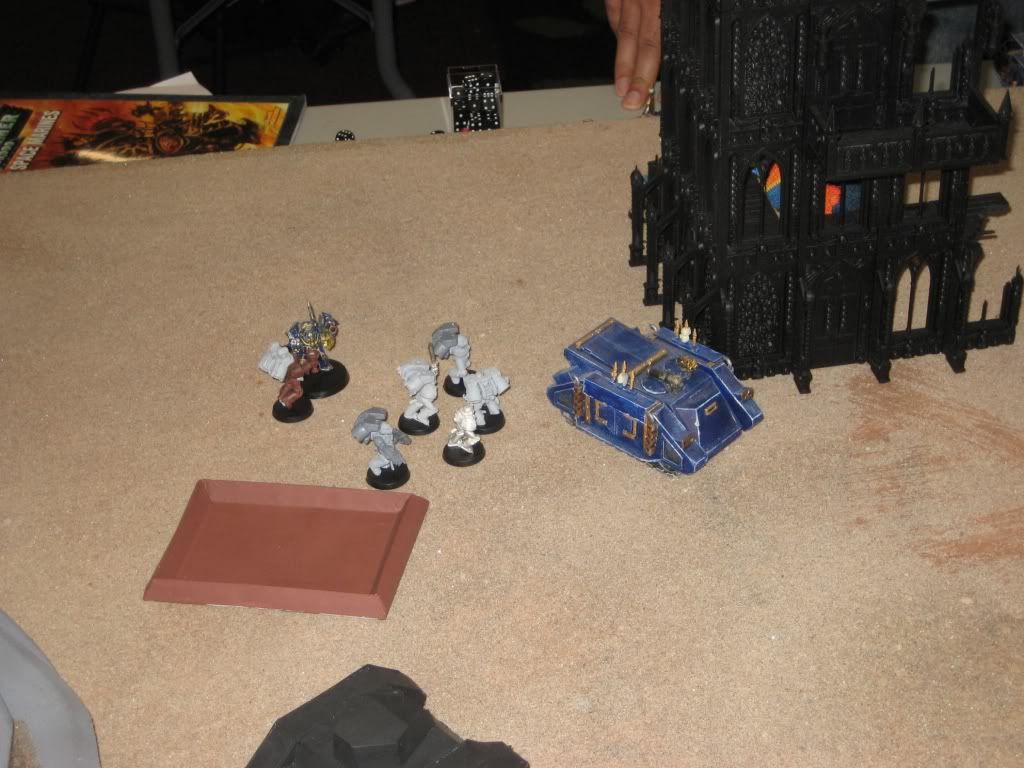
My fourth turn is when I put the nail in the casket so to speak. I hopped my painted assault squad over the combat with my veterans and then moved both my honour guard and gray assault squad with the librarian to take out his two dreadnoughts. One dreadnought fell to blood lance, while the other died to a pair of meltaguns from the honour guard. My assault marines charged into his remaining marines up top and wiped them out.
My fifth turn, I attempted to take out his two drop pods that were in range. I failed to destroy them with the honour guard or assault marines and so assaulted both of them. I ended up blowing one up with a power fist or a krak grenade.
His fifth turn had his assault marines assault my marines and librarian. I don't remember what happened, but we called the game after that.
The opposing player really needed to drop his dreads on the other side of the wall. Where he dropped them allowed Antebellum to move away from them and assault the rest of his army without needing to apply melta to the Dreads until later in the game. If they had dropped on the other side of the wall they'd of most likely had cover and would been in a position to counterassault if they were ignored.
Game 3.
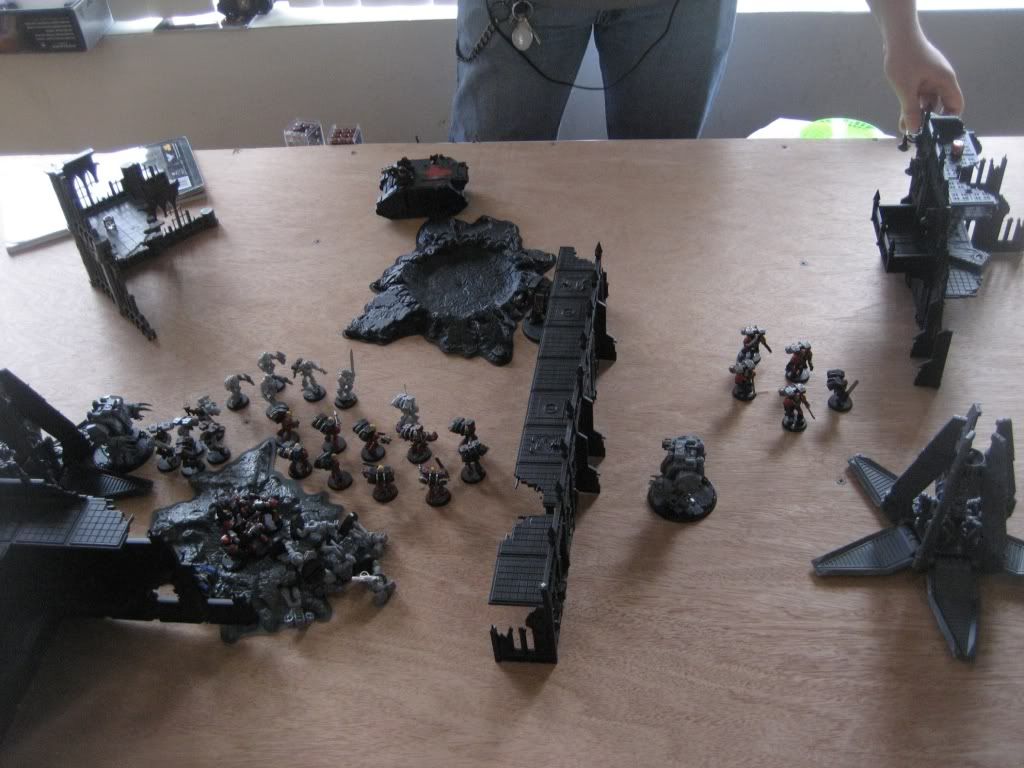
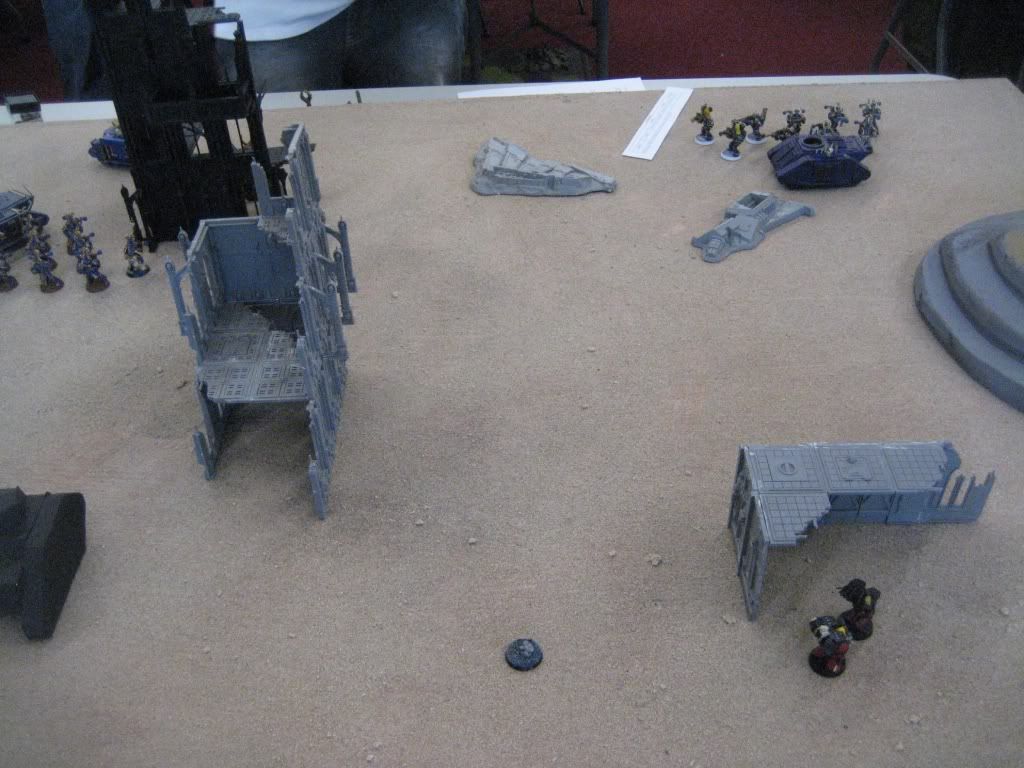
Third game was against my friend TzapMind and his Thousand Sons chaos space marines. His army was a Tzneetch demon prince with warp time and breath of chaos, 9 thousand sons with a sorcerer with bolt of change (I believe) in a rhino, 5 man chaos marine squad with a meltagun and a power weapon in a rhino, three obliterators, and a 9 man havok squad with 2 lascannons and 2 missile launchers in a rhino. The mission was pitched battle, capture and control. We rolled off and I don't remember who won, but I set up and went first (he failed to seize the initiative).
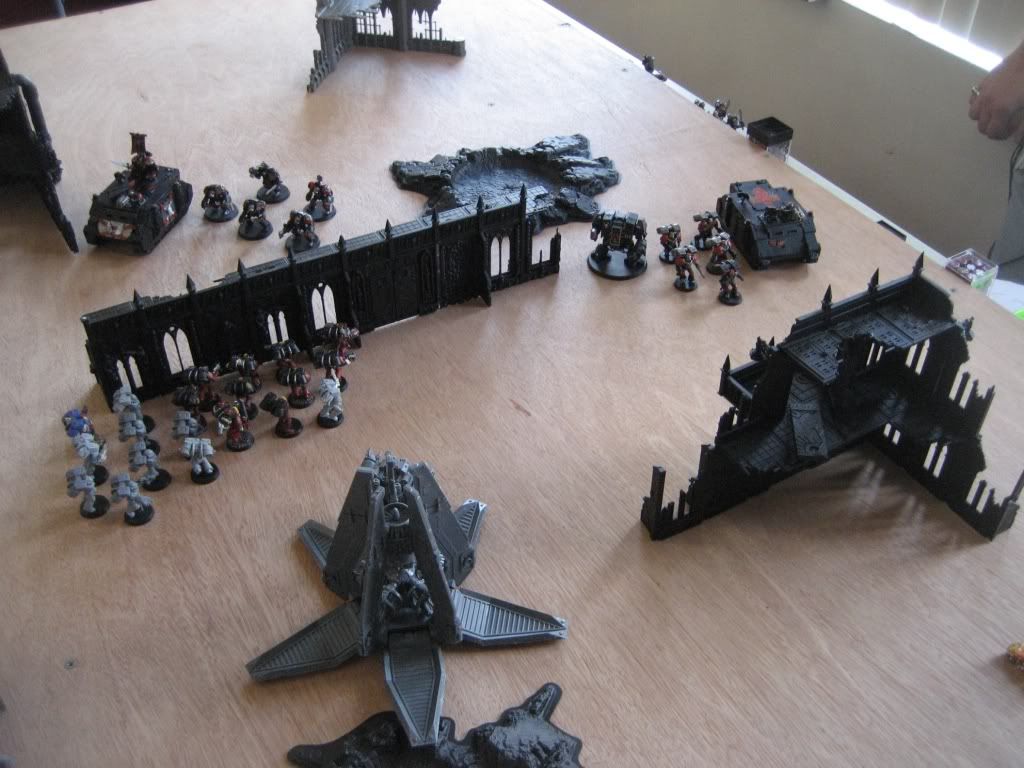
I set up in the center with the gray assault squad combat squadded (the squad with the 2 meltaguns got red thirst) and my honour guard and veterans in reserve). He set up across from me with his heavies in either corner, the thousand sons and marines flanking the large ruins and the demon prince behind the ruins.
Once again, not a huge amount of shooting at range so Antebellum looks to take advantage of that. However those 1ksons at rapid fire range and no cover could be very painful. That being said, cover+FNP would make them far less useful. At the same time, when the Chaos player gets them out they are very vulnerable to a multi-assault without much combat power outside of the Daemon Prince in the army.
My first turn had me tentatively advance (I did not want to get within 18" charge range of his demon prince). The double meltagun combat squad moved to the left, hidden behind the hills, while the other two squads took as much cover as they could get. I made sure to get a marine close enough to the librarian so that they could be covered by shield of sanguinius. (If I could do this again, I think that I would move everything to the left so that they could take cover from the obliterators.)
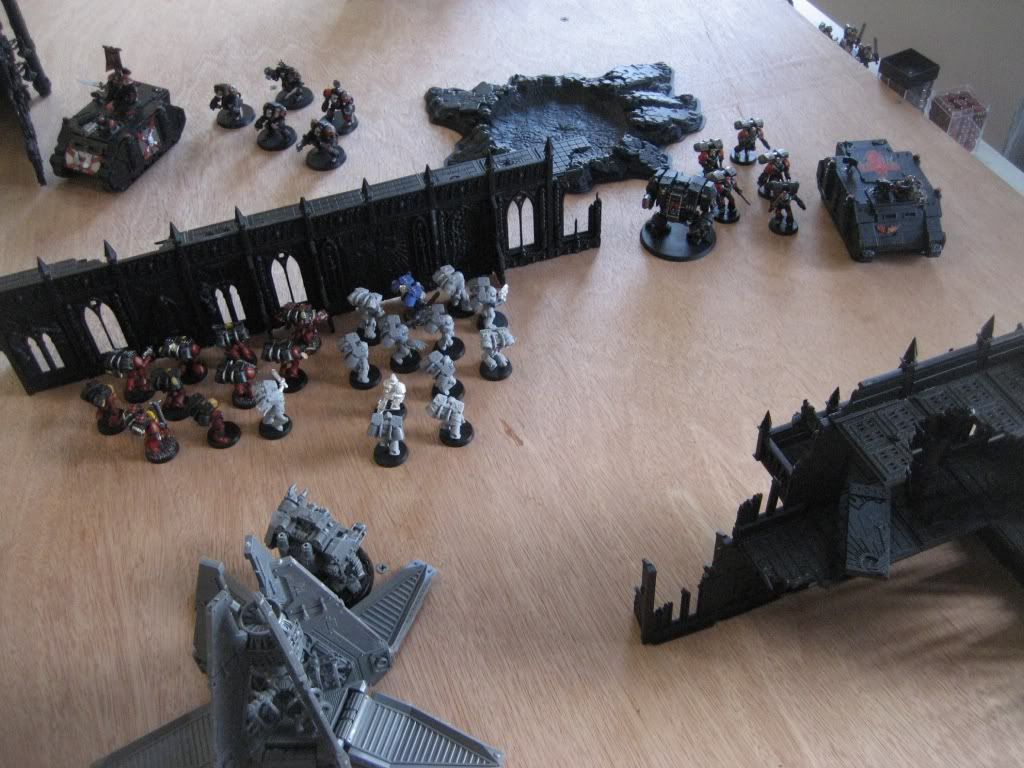
In his first turn, he moved his obliterators up, he disembarked his thousand sons and set up a gunline, and moved his marines in the rhino behind the ruin. His shooting was quite effective, with his havoks and obliterators killing 8 marines from the painted squad and his thousand sons killing two from the gray combat squad.
Mistakes on both sides here. The painted ASM as Antebellum points out can be hit quite clearly with the Oblits and are pretty bunched up. I'd of moved them into the ruins (though no idea where that DP is) or at least behind something to gain cover. On the other hand, the Chaos player disembarking the TSons leaves them very vulnerable to a VV assault (remembering the math a VV squad has a 75% chance to land and grab an an assault when you deep strike 3" away). Let's see if this hurts him later...
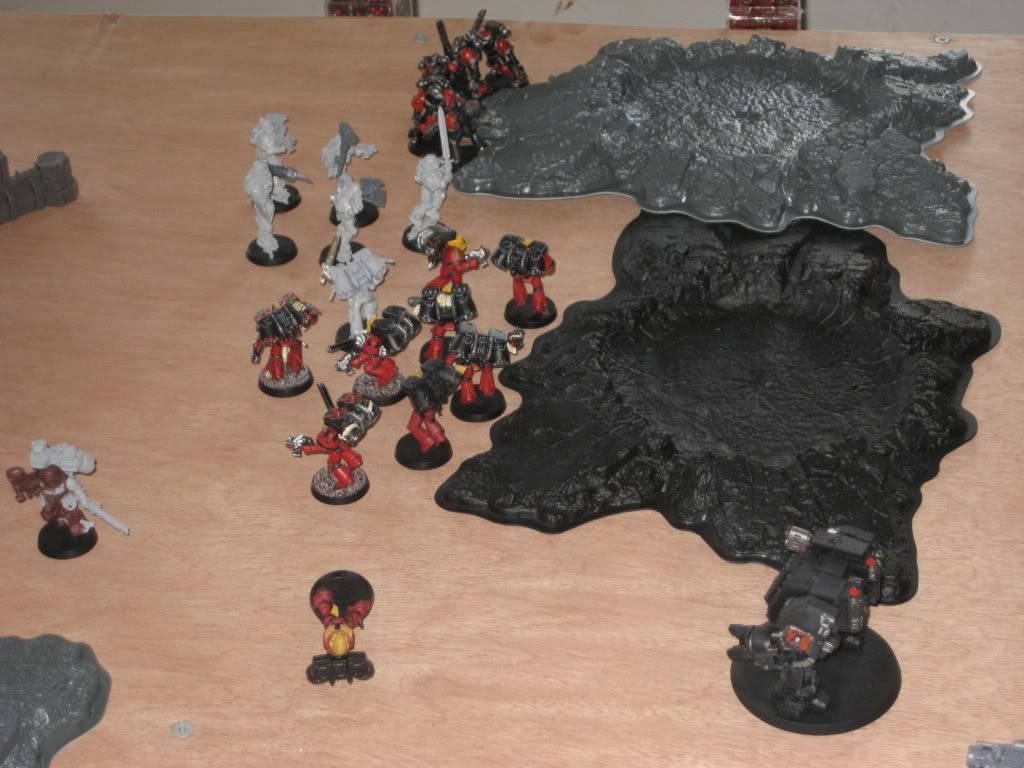
My second turn brought both of my reserves in. I tried to place my veterans first, right next to his demon prince, but they scattered into him and were placed back in reserve (luckily). Because of that, I brought the honour guard down right next to his obliterators. I moved the two remaining painted assault marines to a hiding spot near my objective and had the surviving librarian and sanguinary priest join up with the gray combat squad. The double melta combat squad hopped the hills and got ready to fire upon and assault the obliterators. Both my double melta squad and the triple melta honour guard fired upon the obliterators, killing two and wounding the third with a bolt pistol. They then assaulted and lost one marine, failing to take off the last wound.
I'd have aimed to have the VV jump on the TSons. Whilst the Prince can be scary, you don't really need the VV to kill him with the rest of your army quite capable, particularly with the psychic hood involved. The TSons on the other hand could wipe a squad if they get them in the open and since they were out of their transport, a perfect opportunity for an aggressive deep-strike and assault. Good move though to remove the biggest shooting threat against the army but unfortunately after the Oblits had already damaged his army significantly.

His second turn saw him move his marines in the rhino and demon prince toward my assault squad on the right, and to move his thousand sons into a better spot to shoot at my honour guard. His thousand sons took out two of my honour guard, while in combat, the demon prince and obliterator took out the last four marines of the double melta combat squad. Both consolidated back toward the ruins.
My third turn had my veterans come in again, and again scatter. This time, they scattered into the ruins, out of assault range of everything (luckily I didn't loose any to dangerous terrain). I moved my assault marines and honour guard into a position to assault his thousand sons. My librarian exploded his rhino and killed a thousand son with blood lance, but failed to wound his demon prince. I killed another one or two thousand sons with shooting between the two squads. In assault, I killed three of his marines, losing none in return, and another one of his marines died to fearless wounds.
In his third turn, he moved his demon prince over to assault my veterans and moved his obliterator to assault my honour guard. His marines in rhino moved toward my objective. His havoks shot at my veterans, killing one, and my librarian nullified breath of chaos (thankfully). His obliterator charged in, killing two of the honour guard, while my marines, priests, and librarian finished off his thousand sons. The librarian died here to the sorcerer. At this point, my assault squad was no longer in combat (which changed the game), and they were able to consolidate toward the ruins.
For my fourth turn, I moved the assault marines and one priest into position to assault his demon prince, while I moved the other priest to help the honour guard kill the obliterator. No shooting. The obliterator died to the priest's power sword, and the two moved toward the rhino. The assault squad charged and did quite well against the demon prince, losing two but putting at least 2 wounds on it. The final wound came from the last weapon I rolled (lightning claws I think) of my veterans. The two squads consolidated to the far side of the ruins to gain cover from his havoks.
He moved his rhino toward my objective again in his fourth turn, and opened fire on my veterans with his havoks, killing one.
For turn five, I moved my 2 hidden marines out to claim/contest the objective in my table half and moved the remaining marine and priests near his objective to claim/contest it. My honour guard priest and veterans followed his rhino into midfield, but failed to do anything to it in assault (hitting on 6's sucks).
In his turn five he moved his rhino back up toward his objective and fired at my veterans, killing one. The game ended here. I controlled both objectives. It was a close game and we are sure to have a rematch.
Hope everyone enjoyed the battle reports and maybe learned something from them. I'll have some more picture of my completed assault marines and librarian within a few weeks (hopefully) for Kirby's painting side.
Thanks all,
Antebellum
This battle was a lot closer than it should of been I think and with better use of cover on the way and in and choice of Vanguard targets, it would of been an easier win for Antebellum. 1ksons were a difficult squad to manage for the Jumpers without cover or FNP and the VV offered a very good way to deal with them when they were outside of their transport.
Good to see some Jumpers in action however and gj to Antebellum on 2 wins, particularly capitalising on his opponent's mistake in game 2 with his Dreadnoughts.